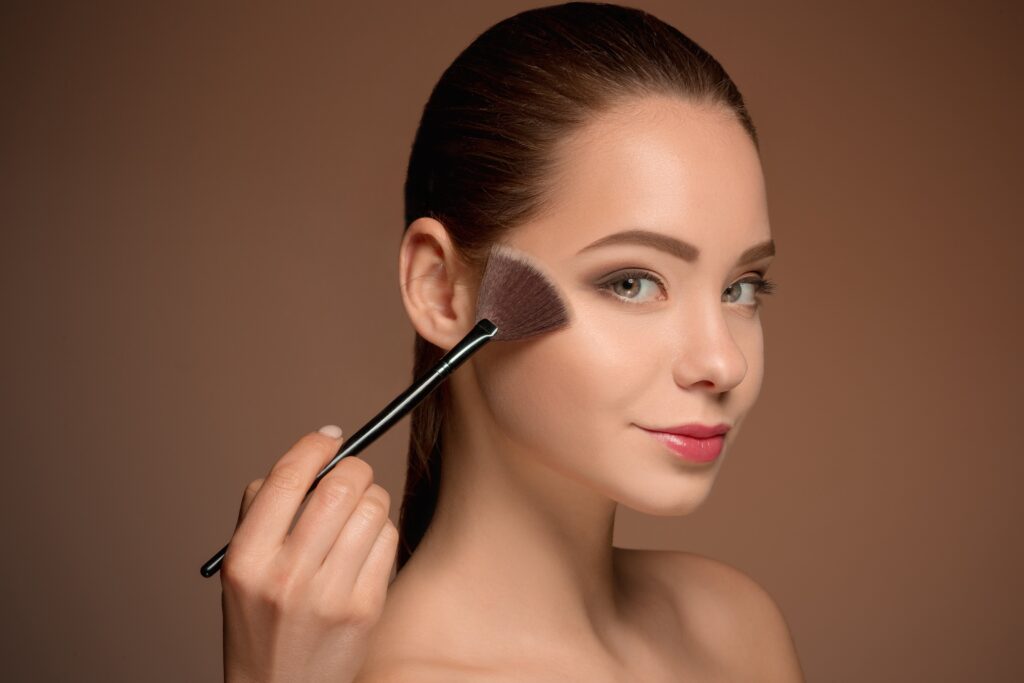
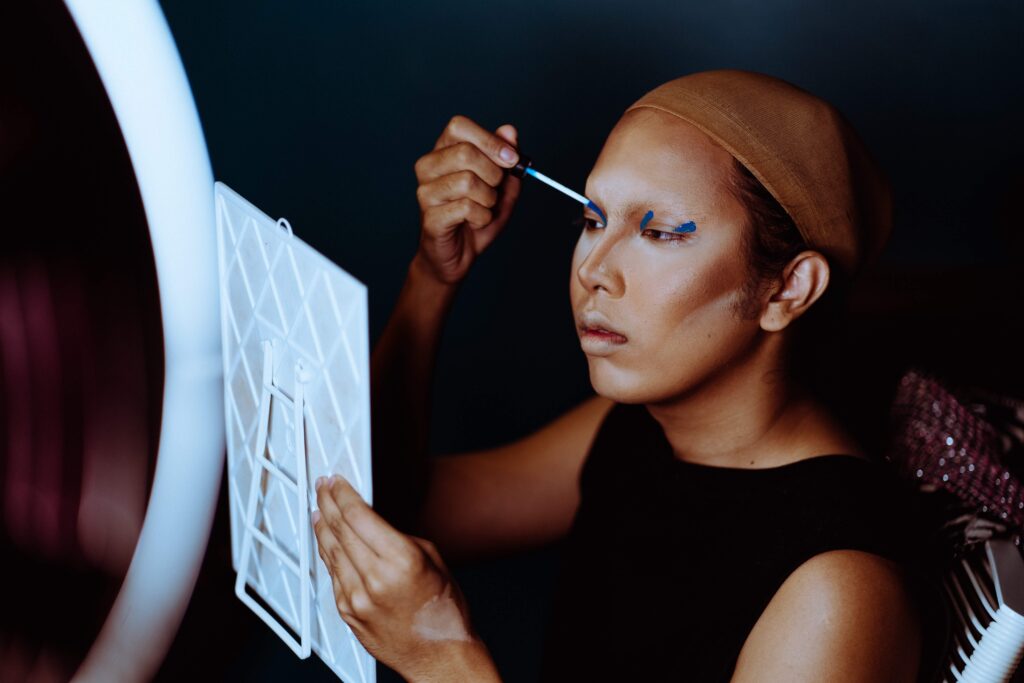
Contouring is one of the best makeup techniques to highlight the face and obtain incredible photos. To take advantage and obtain impressive results in a photo session, you must pay attention to makeup to use good techniques and provide a complete service. Since our clients immortalize special moments in their lives.
You are in the right place, if you are looking to obtain more stylized results, as you will learn how to perfect the face with the contour makeup technique. It can be our great ally before a photo session, since reflectors and lights in photographic studios can soften the facial features of our client or model.
Try to inform yourself and ask what you can and cannot do when applying makeup, to provide security and provide an excellent service experience.
What is contouring?
Among mq techniques, contouring is a worldwide resource used by professional makeup artists, beauty bloggers in social networks, since it allows generating a great visual impact, because it offers a wide variety of possibilities to perfect the appearance of the face.
Contouring is a technique makeup that seeks to define the face through the use of lights and shadows. Using the illusion to highlight and stylize the features of the face to achieve volume and good depth to the face and achieve exceptional finishes. With this technique we can highlight or give a different appearance in some areas such as the forehead, cheekbones, nose or jaw.
When doing contour makeup there are three basic rules: the lightest shade is applied to the areas you want to highlight; the dark tone , to the areas that you want to hide and, finally, it is essential that you blend all the tones perfectly to obtain a natural effect.
What was the principle of contouring?
Contouring is a partially new makeup trend that has lasted since its inception, obviously with an innovation and improvement in terms of products and tools for its application.
At first this technique was already used and trend among theatrical actors in the United Kingdom of Great Britain, using a grease paint in order to to highlight their features and show a more dramatic face.
During the 20s to 30s, contour makeup began to show its potential on the most important faces of the film industry and in photography.
The beauty and cosmetic canons were set by Hollywood stars such as Marlene Dietrich, Marily Monroe, ELizabeth Taylor and Audrey Herburn, they began to use this technique to achieve volume in their face and on the screen they will notice a more defined appearance. Which caused great admiration in society for his distinctive looks and makeup.
Subsequently, Max Factor one of the most visionary makeup artists of the golden age of Hollywood created the looks of the most iconic actresses of the time, such as Ava Gardner, Jean Harlow , etc. He managed to make great use of shadows, highlighters and makeup, which allowed the actors and actresses he collaborated with to not look so flat in the movies, and that great work was shared with the world.
Since then and today contouring is a technique used by professionals and lovers of the world of makeup, which will continue to be an inspiration to stand out and highlight the beauty of each person.
Anyone can use it regardless of their sex or gender, although it depends on each one they feel comfortable with, it is important to take care of our skin with the freedom to do anything.
What Are products necessary for contouring?
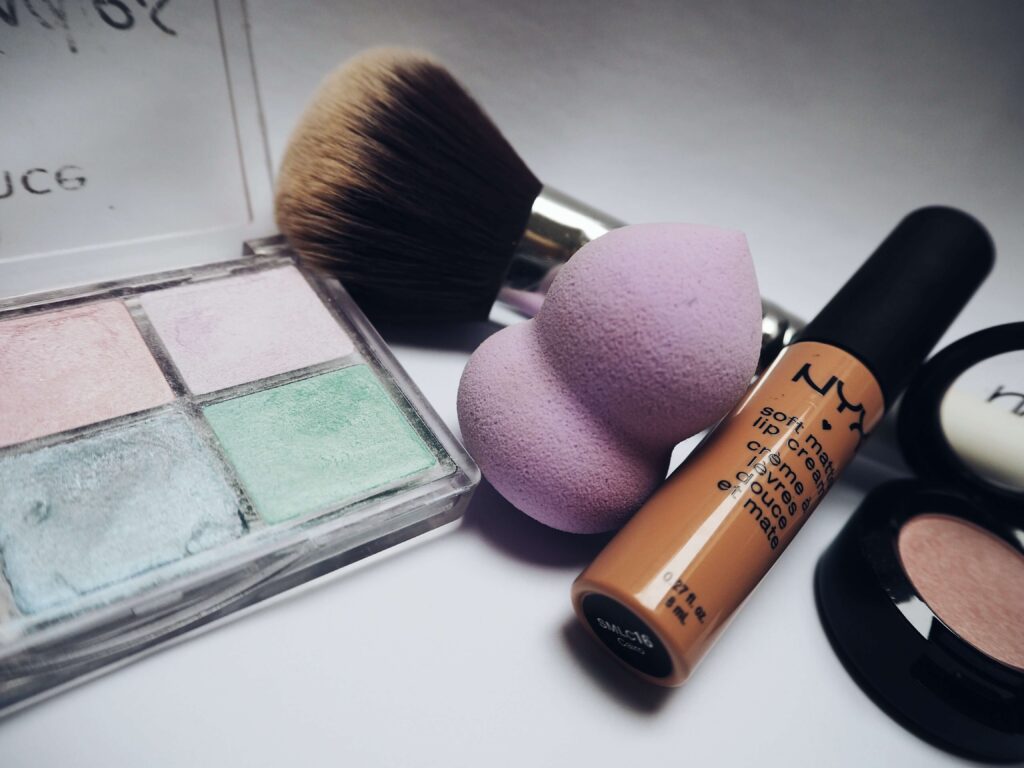
Make-up base :
The closest thing to skin tone.
Two correctors:
One of a dark tone (it must be two tones darker than the skin color) and another of a light tone to illuminate.
Angular brushes:
To make the product manageable. A larger and wider brush works with powder makeup and the more compact brushes allow you to work with cream makeup.
Depending on the time available, you can even skip the base makeup step and apply the contour and highlighter directly. The makeup contour will serve to color the face while hiding imperfections and contouring it.
Steps to do contouring
If you want a matte finish, you can use powder makeup and the result will look more dramatic. If the preference is a glow finish you can use cream makeup , but if you are looking for a finish to last longer you can make a combo with both techniques, since the cream will It leaves a divine texture, it leaves you coverage, and the powder seals it so that it lasts longer.
- First of all, you must identify the type of face.
- To begin contouring you must start by marking a straight line from the tip of the ear towards the corner of the mouth, not lower, nor higher, because if you do makeup too far down makes the cheek look baggy and old-looking and higher up it can look strange.
- Apply the dark shade on the temples, along the cheekbones and on the jawbone to refine the face.
- Try to work the dark color approximately to where the eyebrow ends, try not to extend the makeup to the corner of the lips.
- Blend all the makeup so that the finish has a good harmony and looks organic.
Contouring depending on face types
Remember that you must adapt the makeup depending on the type of face, to highlight and give a good facial profile.
Oval face
It has a total harmony since the features are very balanced, so it does not need major corrections, but it does allow us to highlight its features more.
- We start by applying the lightest concealer in the dark area of the dark circles, above the cheekbone, on the wings of the nose, a little above the chin and if you want you can place a little above the nose and below the eyebrow. Remember to blend very well with small touches or with a brush and this way we will get to mark the points of light.
- To mark the contour we must Take our darker concealer and begin to mark a small line from under the cheekbone from the top of the ear towards the corner of the lip, and blend with upward movements.
- Finally, apply the dark color a little on the jaw line to highlight its shape, remember to blend very well.
Triangular face
The triangular face visually has a narrow forehead, the cheekbones have almost no volume and the jaw is wide.
- We will start by illuminating the dark circles, above the cheekbone, in the dark areas and on the nose, in the same way we will give light in the center of the forehead and on the sides , we blur it well and thus we will have the light points.
- Then the darker corrector is taken, it will be used to define the jaw, chin and more cheekbones.
Long face
They are longer than wide, with a broad forehead, marked chins, and high cheeks.
- First we illuminate the central and dark areas of the face and blur it as best as possible.
- We will apply the dark tone on the upper part of the forehead and on the chin to cut or shrink the face, we define the face by marking the cheekbones.
Round face
It usually has a very similar horizontal and vertical axis, and the contours of the face are very rounded, without angles and with very little relief.
- We illuminate the central area, which are the dark circles and dark areas, also the forehead and below the eyebrows, to integrate it you have to blur very well.
- To mark the contour with the dark corrector we mark the cheekbone bone going up the forehead and also on the edge of the maxilla, in this way we will define more and the face will not look so wide. And if you applied it with the brush, we would follow the cheekbones, the jawbones and the hundred.
Inverted triangular face
This face type has a broad and long forehead, which makes the chin narrow with high cheekbones.
- We begin by applying the light concealer to illuminate the dark circles and above the cheekbone to highlight the look, in the dark areas. you should apply on the jawbone to add volume, we blend well.
- to cut the face a little you should apply the dark tone on the chin, mark the cheekbone and above the forehead, blend very well.
Rectangle or square face
The face has a dimension very similar to a box, and the jaw is very defined.
- You will start to apply makeup with the dark color below the cheekbone to give a lifting effect to the face.
Heart face
We begin by applying the dark corrector on the upper part of the forehead, specifically on the sides and we continue applying a little on the cheekbones, it is also a plus to apply a little on chin.
Tips for contouring
- If you have brown skin, avoid working with brown tones that have a cold undertone and instead opt for a coffee with a warm undertone.
- If it is a very pale skin avoid very warm and orange tones, better work with cool and neutral tones.
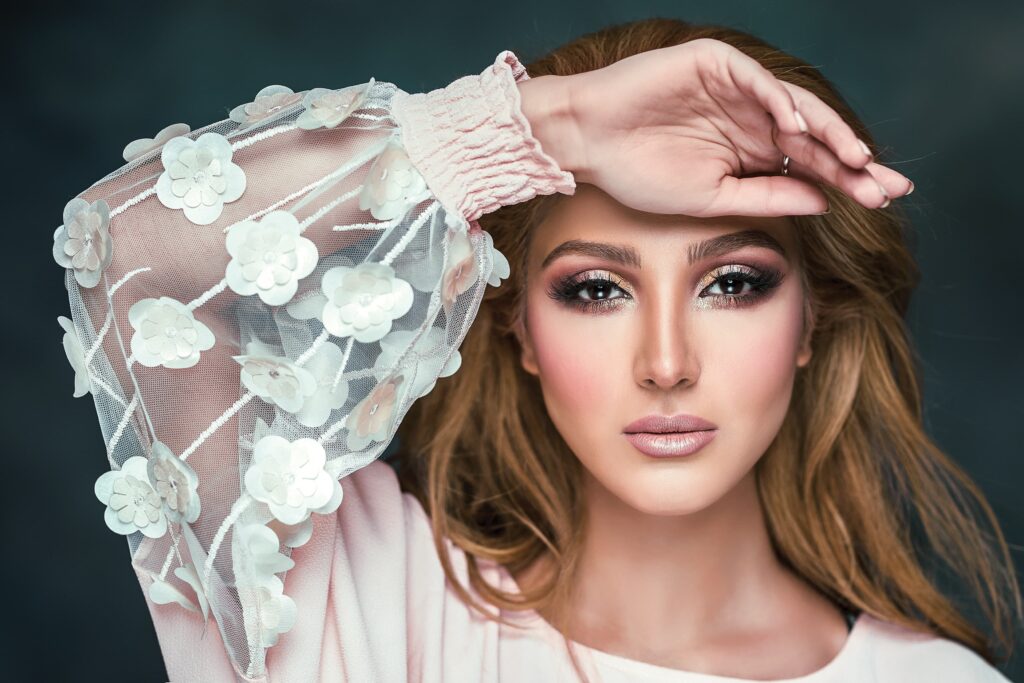
- Complement the makeup by adding a little blush.
- To refine the nose can help you with a very fine and thin brush, start by marking a fine line at the level of the tear duct to the tip of the nose with clear concealer, try to make it as centered as you can. Then with the dark corrector mark two lines along the side of the middle line to the fins of the nose, remember to blend well so that you can see that it is fine.
- To make the nose wider it is exactly the same procedure but exchanging the colors, that is, with the dark we will draw a line in the center of the nose and with the light we will draw one each side.
- Always work with frontal light, it is very important so that no shadows are generated on the face and the result is what most favorable possible.
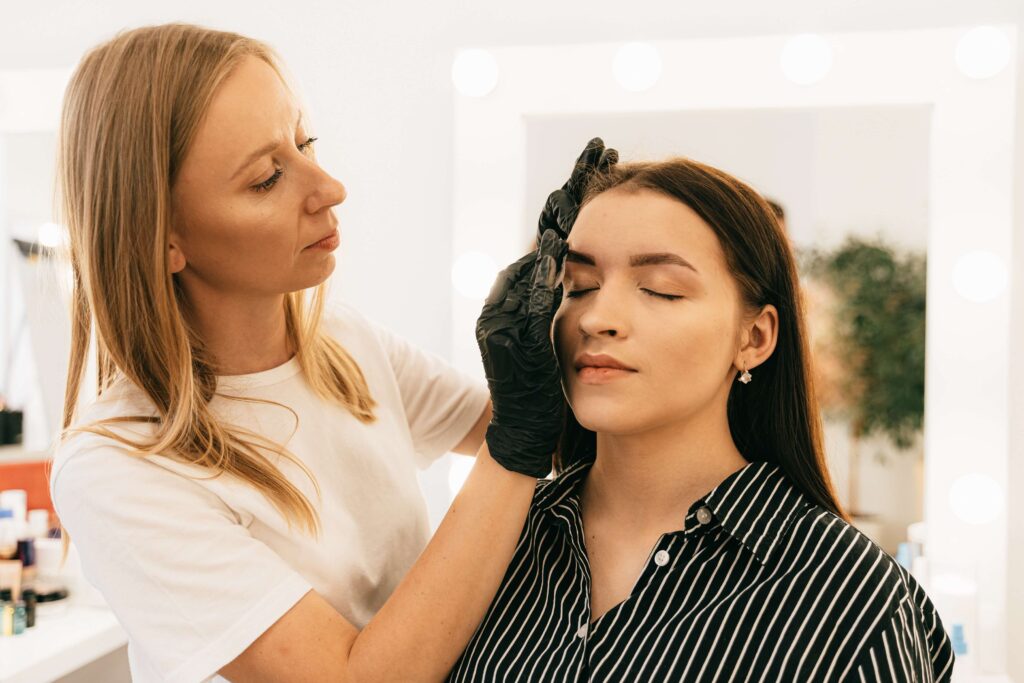
A good makeup will convey great sensations, bring out your most creative side, remember that each person’s preference regarding the use of makeup is totally valid, it already allows us to explore different possibilities of styles and discover which one makes us feel comfortable, s If you are starting in the world of makeup, you must practice to get the most out of it.
To improve your technique you can see the following video of Mónica Olvera, a professional in photography as well as in the art of makeup.

